This guide will walk your Microsoft Exchange administrator for Office 365 through how to set up your Microsoft Exchange server to automatically Bcc your unique Email to Salesforce Address on your outgoing emails. When you Bcc your unique Email to Salesforce Address on your emails, the emails will automatically be added to the activity history of the related records in Salesforce.
Configure Exchange Center Settings
Now that we have configured your Email to Salesforce settings in your Salesforce org, the next step is to configure your Exchange Admin Center settings to be able to automatically Bcc your unique Email to Salesforce Address on your outgoing emails.
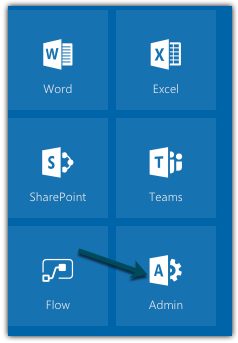
From your Office 365 Home page:
- Click Admin.
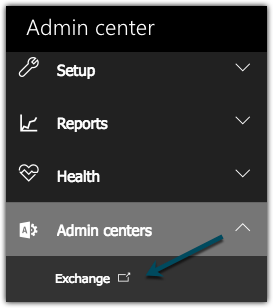
- Click Admin Center dropdown.
- Click Exchange.
Create Mail Flow Rule
We will create a Mail Flow rule in your Admin Exchange Center. Setting up a Mail Flow rule will allow users to automatically Bcc their unique Email to Salesforce Address on all outgoing emails.
Please note: Each user will need to set up their own Mail Flow rule.
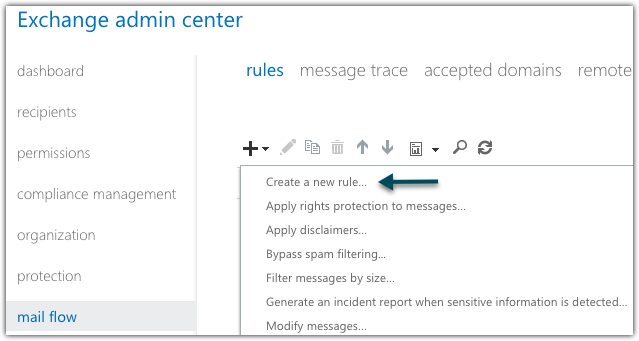
- Click mail flow.
- Click rules.
- Click the + icon.
- Click Create a new rule.
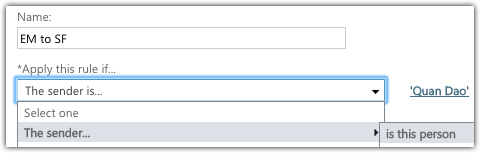
- Name the Mail flow "user" - Email to Salesforce.
- Click The sender is in the Apply this rule if picklist.
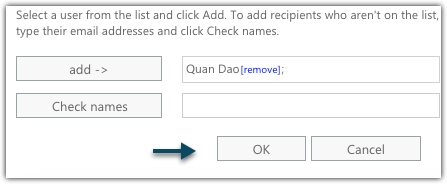
- Click is this person.
- Add the appropriate user.
- Click OK.
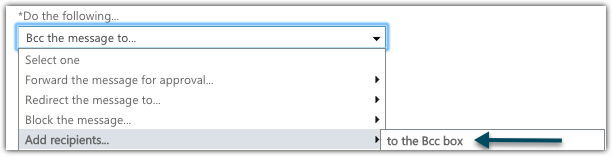
- Click Bcc the message to in the Do the following picklist.
- Click Add recipients.
- Click to the Bcc box.
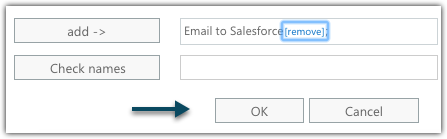
- Copy and paste the Email to Salesforce Address from your Salesforce Org into the Check Names field.
- Click Check names.
- Click OK.
We also have the ability to configure a list of email addresses that you would like to exclude from this Mail Flow rule. Any outgoing emails sent to this list of email addresses will not automatically Bcc the user's Unique Email to Salesforce Address.
Please Note: Each user must configure their own list of email addresses to exclude from their Mail Flow rule.
Under the Except if section:
- Select The message.
- Select To box contains this person.
- Enter the email addresses in the Check names field.
- Click Check names to add the email addresses to the list.
- Click OK.


- Type 0 in the Priority field.
- Select Audit this rule with severity level High.
- Select Enforce under Choose a mode for this rule section.
- Select Activate this rule on the following date. Choose the next available time for you. For example: if it was 12/13/2017 at 11:50 AM then select 12/13/2017 12:00 PM.
- Click Save.
Please note: Your Mail Flow rule will activate once the activation time has passed.

Make sure your Mail Flow rule is enabled in the Mail Flow page.

You have completed the Mail Flow rule set up in your Microsoft Exchange server! All of your Outlook outgoing emails will now automatically Bcc your Email to Salesforce address and logged to the appropriate records in your Salesforce Org.