Welcome to the Lightning for Gmail user guide! This guide will walk you through how to set up Lightning for Gmail in your Salesforce Org. You can then configure Lightning for Gmail to add a record, email, or event from Gmail to Salesforce.
Lightning for Gmail
Lightning for Gmail synchronizes your Google G Suite Gmail inbox with Salesforce CRM and allows you to leverage Salesforce data directly from within Gmail.
Enable Lightning for Gmail (for Admins only)
Lightning for Gmail allows users to view, create, email and modify Salesforce records from directly within Gmail.
Please note: Your Salesforce administrator only needs to activate Lightning for Gmail once. Upon activation, all users of the Org will be able to sync their Gmail account with Salesforce.
User Permission needed: Customize Application.
From Setup, enter Lightning for Gmail in Quick Find box then select Lightning for Gmail Settings.
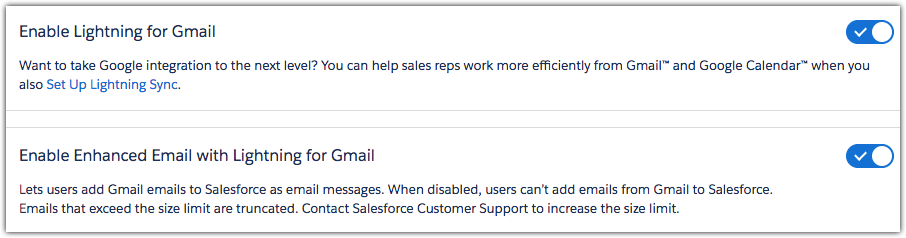
Click Enable Lightning for Gmail.
- Click on the Arrow dropdown icon under Lightning for Gmail.
Click Enable Enhanced Email with Lightning for Gmail.
Customize content with App Builder: Enable this feature to set up your reps with customized email application panes using App Builder. Add standard components that your reps use most, like accounts, contacts, or cases. Or work with your Salesforce developers to include custom components that reflect your company’s industry or brand.

Email Application Publisher Layouts (for Admins only)
Users can create contacts, accounts, custom objects, and more directly from within their Email Application Action Menu. The user’s Email Application Publisher Layout determines the actions that will be displayed within their Email Application Action Menu. The Email Application Action Menu exist within the Lightning for Gmail side panel.
Please note: Email Application actions only need to be created once. Once created, your Salesforce administrator can add the actions to the Email Application Publisher Layouts and assign layouts based on user’s profile.
User Permission needed: View Setup and Configuration.
Preview of the Action Menu in Lightning for Gmail:

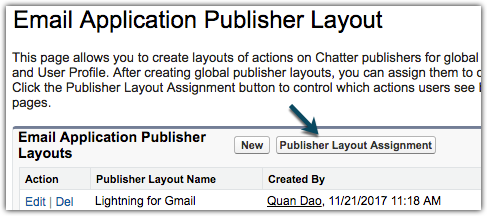
Under Email Application Publisher Layouts section:
Click New.
Name the Publisher Layout as Lightning for Gmail.
Click Save.


In the Email Application Publisher Layout:
Add the appropriate actions to the Email Application Publisher Layout. To add actions, simply drag each action button in the Quick Actions section down towards the Email Application Publisher section.
Click Save.
Click Publisher Layout Assignment.

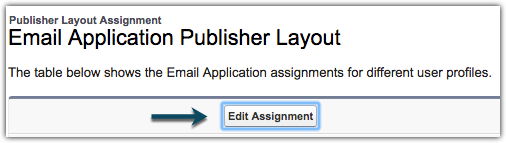
In Publisher Layout Assignment:
Click Edit Assignment.
Add the Lightning for Gmail Publisher Layout to the appropriate user profiles.
Click Save.

You have completed the steps to enable Lightning for Gmail in your Salesforce Org!